Getting started · Chapter 1
The first start.
Nexview runs as a single container on your own server. This chapter starts where it is already running: you open the page in a browser and a wizard walks you through the setup. How to start the container, which folders to mount and which environment variables exist is on the Self-host page.
What you need
- A running Nexview container. Out of the box it answers at
http://address-of-your-server:5173. - The credentials of an SMTP server. The “Mail server” step cannot be skipped, because every invitation and every password reset goes through it.
- If you like, a free API key from TMDB. Without one Nexview shows sample data first.
- If you already know who procures: the address of nexcrate, or the address and API key of Radarr and Sonarr.
The fork at the start
The first page says “Welcome to Nexview” and offers three ways forward. At the top right you choose between DE and EN. The language you pick there becomes the language of your account.
- “Start fresh”. The wizard walks you through the administrator account, TMDB and the connection to the services that procure. This is the way this chapter follows.
- “From a running Seerr installation”. Nexview reads Seerr and takes over services, accounts and the blocklist. The chapter Moving from Seerr describes it.
- “Restore from a backup”. You upload the archive you downloaded from Nexview and enter its password. Afterwards everything is back, accounts and requests included. More in the chapter Backups and updates.
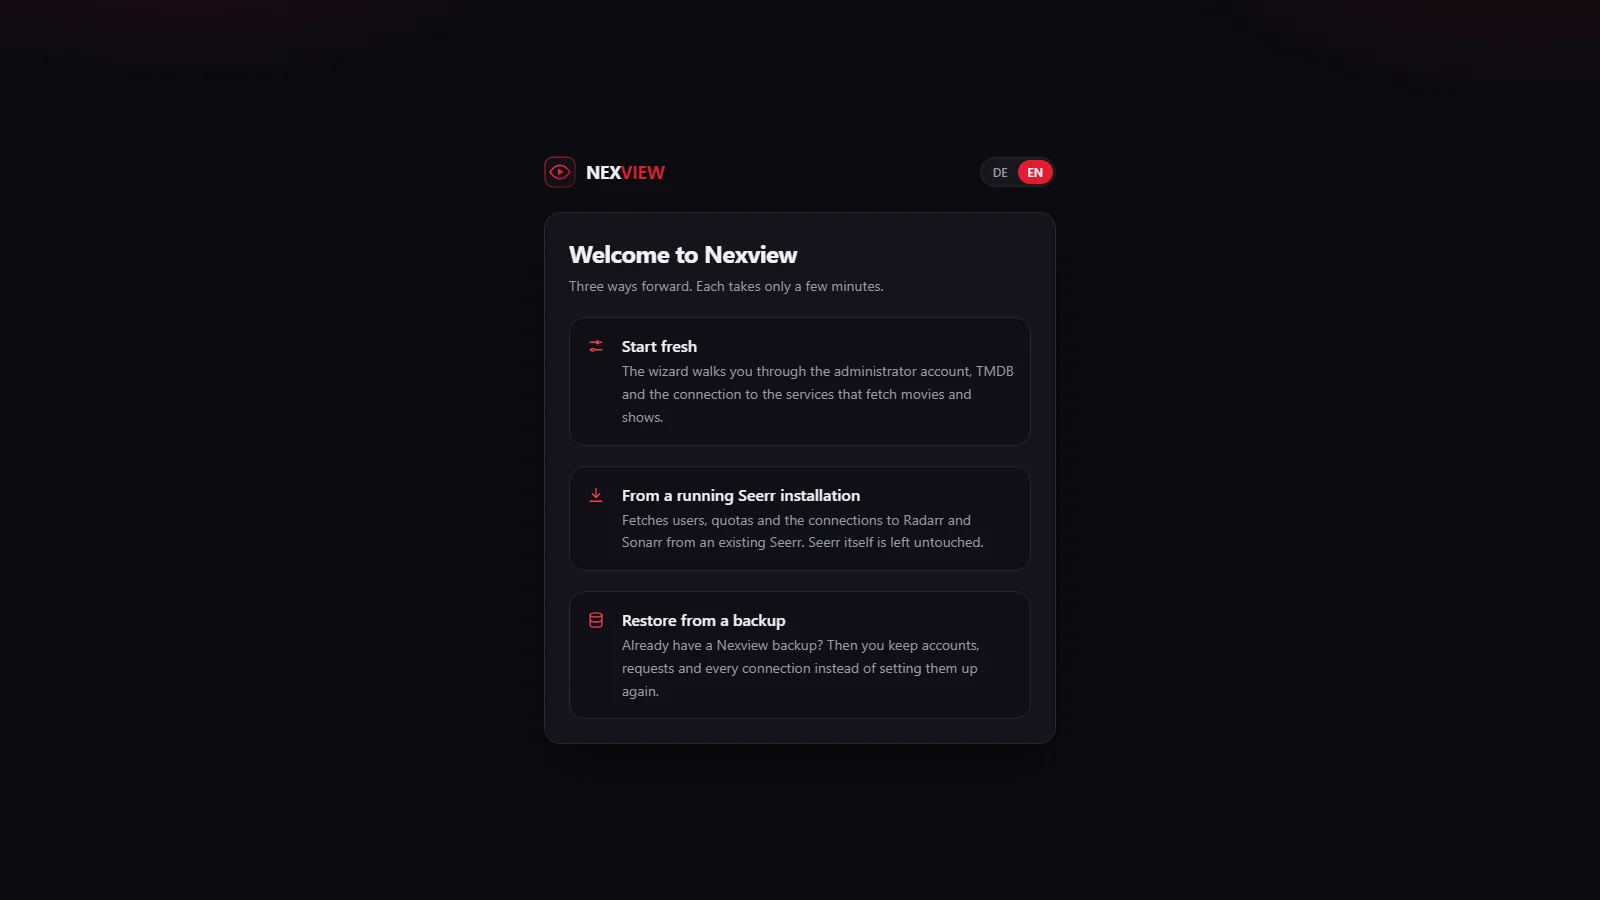
The “Start fresh” way, step by step
A bar at the top shows where you are: Account, Picture, TMDB, Procurement, then Radarr and Sonarr or nexcrate depending on your choice, followed by Address and E-mail. Five steps can be skipped, two cannot.
- Create the account
“Username” (3 to 32 characters: letters, digits, dot, hyphen, underscore), “Display name” (optional), “E-mail address” and “Password” with at least four characters, plus “Repeat password”. The username is the name you sign in with. The display name is what others see in requests and approvals. The address counts as confirmed right away. “Continue” creates the account. It is an administrator and, as owner of the installation, carries the owner flag that no other administrator can touch.
- Profile picture
“Your profile picture” is optional. Without one Nexview shows your initials. “Set up later” moves on.
- TMDB
“Movie data from TMDB”. Enter the free API key you create at themoviedb.org in your account under “Settings › API”. “Test connection” checks it, “Save and continue” stores it. If you skip, you get sample data: invented titles, enough to look around but not to request.
- Procurement
“Who procures the titles?” The choice is “Radarr and Sonarr” or “nexcrate”, one switch for movies and shows together. After that the wizard shows only the steps that belong to your choice. What that looks like and what you can change later is in the chapter nexcrate or Radarr and Sonarr. These connections can also be skipped with “Set up later”. Nexview then runs as a plain catalogue in which nothing can be requested.
- Public address
“Which address do you use to open Nexview?” This address ends up in every link Nexview sends. The one you are using in the browser right now is suggested. If Nexview runs behind a reverse proxy, enter the address your people type, not the container’s. “Test connection” checks it, and only then does “Save and continue” unlock. This step cannot be skipped. You can change the address later under “Settings › System › Address”.
- Mail server
Server, port, “Encryption” (when in doubt “STARTTLS (usual, port 587)”), username, password and “Sender address”. Many providers want a dedicated app password here instead of your account password. Here too you continue only after a successful test. Later you find everything under “Settings › System › Mail”.
- All set
“All set”. Whatever you skipped you can add at any time under “Settings”. “Let’s go” takes you into Nexview.
Good to knowThe account exists from the first “Continue”. If you close the browser in the middle of the wizard, open Nexview again and sign in as usual. The wizard does not come back, and you catch up on the rest under “Settings”.
Region and language afterwards
Two defaults for the whole household live under “Settings › Services › General”. The “Region” decides, among other things, where titles are streaming and how cinema dates count, and applies to everyone who has not set their own in their profile. The “Default language” applies to newly invited accounts and to mails to people who have no account yet. Whoever is signed in switches their own language at the top right, and film titles and descriptions follow automatically. Nexview comes in German and English.
Right there you also find “Sample data” with three options: “Automatic (only without a TMDB key)”, “Always use sample data” and “Never use sample data”. Out of the box it is “Automatic”.
What “owner” means
Exactly one account belongs to the installation. It carries the “Owner” badge in “Settings › Users”, and no other administrator can deactivate it, delete it, demote it or set its password. The flag gives no extra rights, it only protects your account from others. You hand it on under “Profile › Account › Security” with “Hand over ownership”, to exactly one other active administrator. If you have locked yourself out as owner, the environment variable NEXVIEW_BETREIBER with your username helps. It is described on the Self-host page.
What comes next
With an account, an address and a mail server Nexview is ready to use, but still empty. Next you connect your media server so Nexview knows what is already there. More accounts come later through invitations that the administrator sends under “Users”, or with a Plex account.
The next chapter is Connect your media server.